This post aims to give you a quick overview of Copic Markers from my newbie perspective and the process I went through to choose my very first markers and colours.
Copic Markers are my new obsession! I discovered them just two weeks ago when I was searching for methods for blending markers. (Because I could not get into my head how in the world markers could possibly blend.) I asked my best friend (which happen to be a search engine) and found that markers can actually blend very nice together. I also found that there are (approximately) a billion different types of markers out there and a decillion different colours!! “Tough choice,” I thought and not the right time to suffer from anxiety about making decisions. (It’s a good thing I don’t). Anyways, when I stumbled across the Copic Markers I felt right at home.
This post will give you a quick overview of the Copic Markers from a newbies perspective (a.k.a myself), and the process I went through to choose my colours.
Copic Markers Overview
Copic have four different types of markers: Classic, Sketch, Ciao and Wide. My markers are the Sketch version which in short term mean they have a nice and smooth brush nib instead of that stiff nib you often find in markers. The Sketch and Ciao version are basically the same, except from the size of the marker (Ciao is a little bit smaller) and the colour name and number at the top (Ciao lack of it).
With Copic, there are about 358 colours to choose between which is a daunting task. Believe me. What happen if you can’t decide your colours, or if you choose the WORNG colours?!! DISASTER! (well, not really but you get my point.)
When I faced the choice of colours I simply ask myself: 1) What colours do I like? and 2) which colours do I often tend to use? The answer was fairly simple. Pink, Turquoise and Green are my favorite colours and also the ones I use the most. Then there are Blue, Purple and a warm tone of Yellow which are my following favorites.
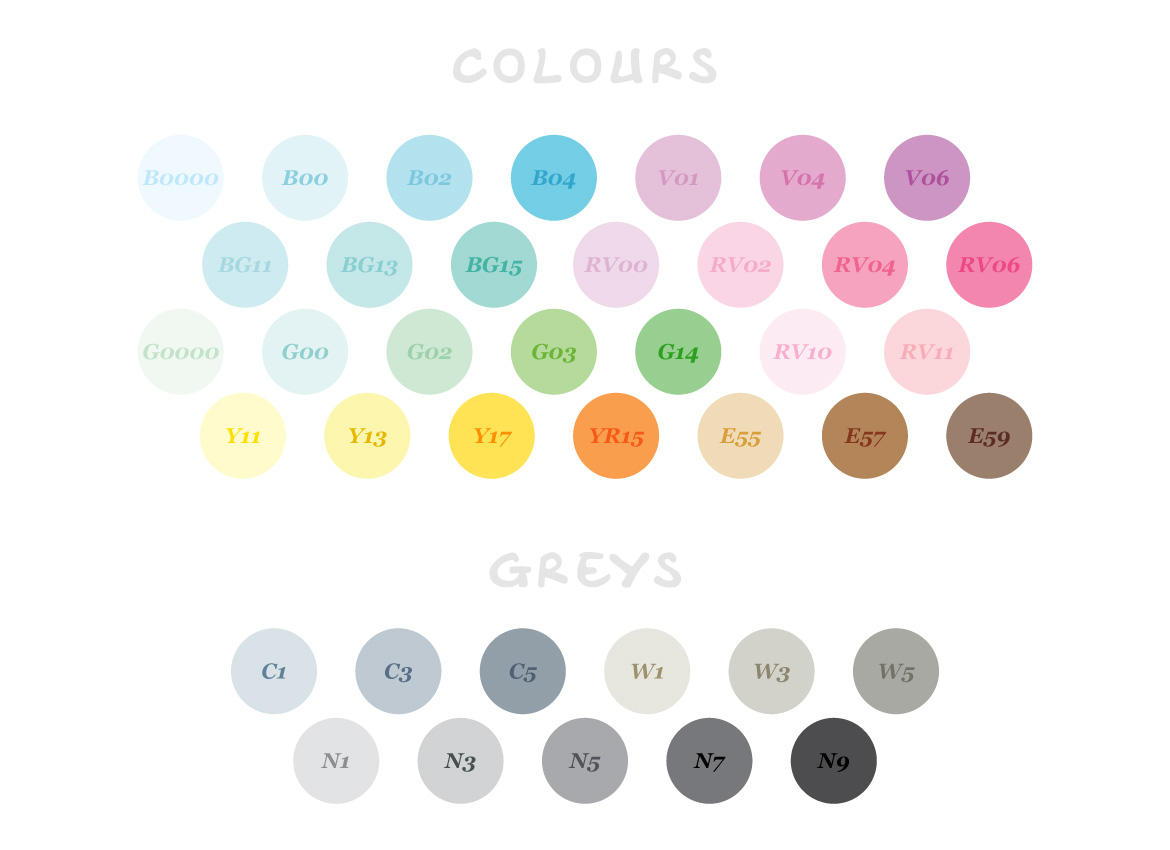
After identifying the colours, I faced the task of finding the right shades of each colour. I chose one shade as my base and then two more shades to blend with that. For example, with the earth colours (a.k.a brown) I chose E57 as my base shade and then E55 as my lighter shade and E59 as my darker shade. See the image below for colour reference.
I also spend a whole lot of time on YouTube to see the colours in action. However, it’s difficult to see the true form of a colour from a screen but at least it gives a hint. The colours of my choice are displayed in the image below.

In addition to the markers explained above, I also ordered three Multiliner Classic (0.1mm, 0.3 mm, 0.5 mm) and a colorless blender.
The multilines are “Copic optimized” which means they do not smudge when colored over. This is crucial since a smudged line could destroy your image.
The colorless blender are used for different things: Fixing mistakes (like drawing outside the lines), blending colours together (not always necessary since the markers blend together on their own), or creating cool textural effects.
To sum it up: I have 44 Copic Markers as of right now! It sound pretty reasonable for someone who has never used markers before, right..? No.
I made a video of me testing some of the markers. Check it out if you are interested.
Things I love with the Copic Markers
- Refillable: The markers are refillable which in long term will make them much cheaper than they first appears to be. This is also good since you can keep the exact same marker as you first bought. If you are sentimental about material things.
- Brush nib: The brush nib makes it really smooth to draw and you can variate the line thickness as you go. The brush nib also makes it easier to paint in small areas.
- Variety of Colours: Even though it’s a daunting task to choose from all the colours, it’s still nice to be able to choose a specific shade of colour which is right just for you. And if that’s not enough, you could even mix and match your own colours with the Various Ink.
- Various Ink: This is the refills for the markers. With the Sketch version, one Various Ink will last for 12 refills according to Copic. I have not tried this myself since I just got my first makers, but the time will tell. To mix your own colour, you simply need two or more Various Ink colours and then just mix them. There are also empty markers you can buy, to fill with your own colours.
- Marker Design: I like the design of the Sketch marker. It’s oval shape, light grey with the marker colour at the top. One side of the marker is written with some information about the marker but the other side is plain grey. This makes it look very stylish. I like that.
The choice of paper
There are many different types of paper out there and not always easy to know which to use. I have tried my Copic Markers on three different types of paper which I already had at home.
My first attempt was on a regular printer paper. That worked out okay but I didn’t want to put on too much colour in case of feathering. This also caused me not being able to blend as much as I would like.
My second attempt was on a thicker, bleed proof paper with a blank surface. I’d read that the blending with Copic markers would be really smooth and nice on blank surface papers. However, after my first try I was not convinced. I fount that the colours didn’t blend too nicely together but rather tended to create a sharp line where they met. I guess there are different types of blank surface papers as well.
My last attempt was on an aquarelle paper with a matte surface. This was the best one of those I tried. I was able to put a lot of colour on it and blend pretty well. Although, I sometimes experienced part of the paper not being able to absorb darker colours if a lighter colour already had soak that part. Not even when it had dried. Very annoying.
I guess it takes some time to try out different kinds of paper until you find the right one. The search continues!

Last words
Since these are my first markers I can’t really compare them to other markers and I don’t want it to sound like these are the best one out there. (What would I know about that?) This post was just to give you a quick overview of the Copic Markers from a newbies perspective.
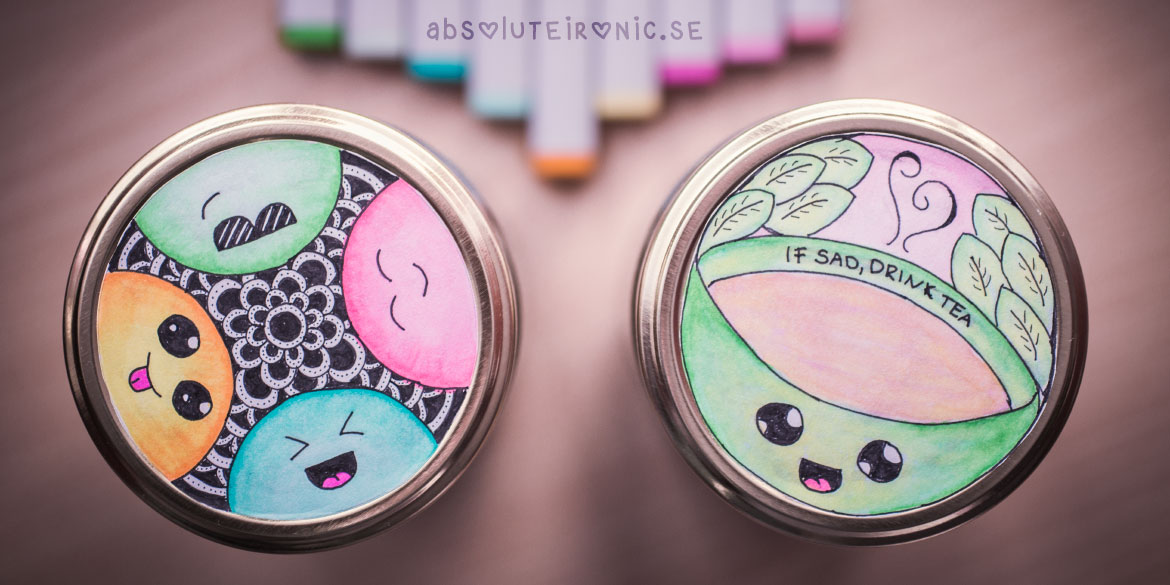
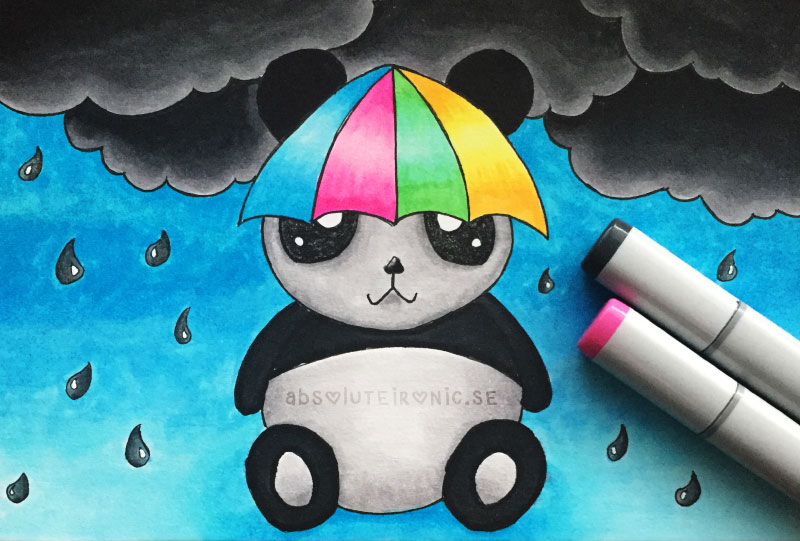
Lastly I want to show you some of the very first doodles I did with my new markers. I am still working on the blending techniques.

